Materials and Techniques
As a cabinet maker George works with both solid timber and with veneer. In many peoples minds veneer has developed a bad reputation in recent years, with mass produced furniture often finished with low quality veneers of little interest. However, when a cabinet maker works with veneer, the result is some of the finest furniture.
Quarter matched door panels in burr poplar.
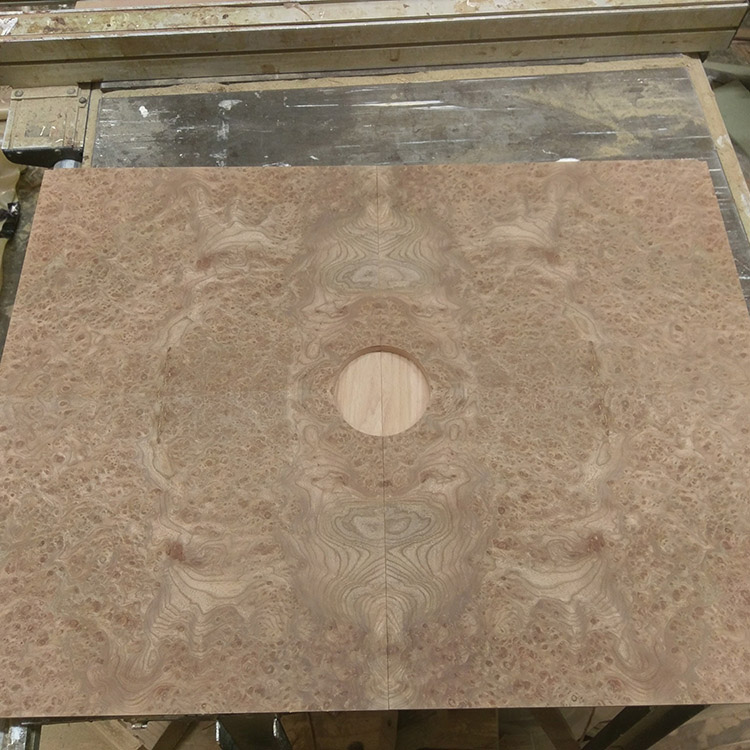
Effects are produced which are not possible when using only solid timber. For example having more than one line of symmetry in a quarter matched panel, or having the same grain pattern repeat across many aspects of a piece.

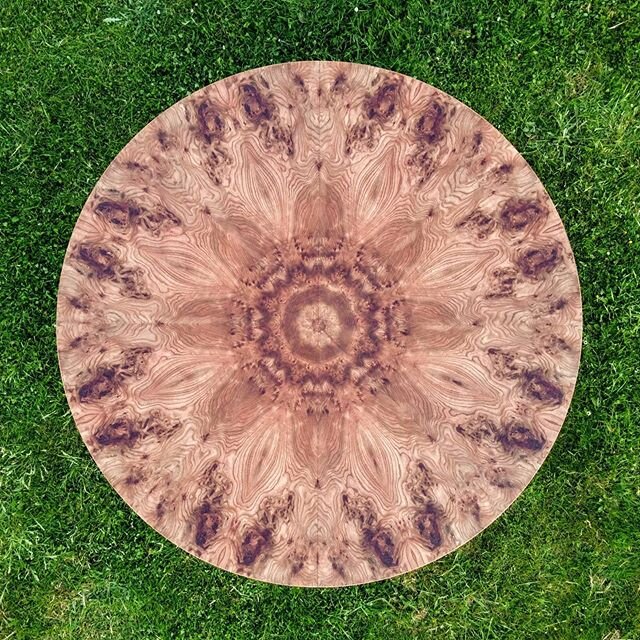
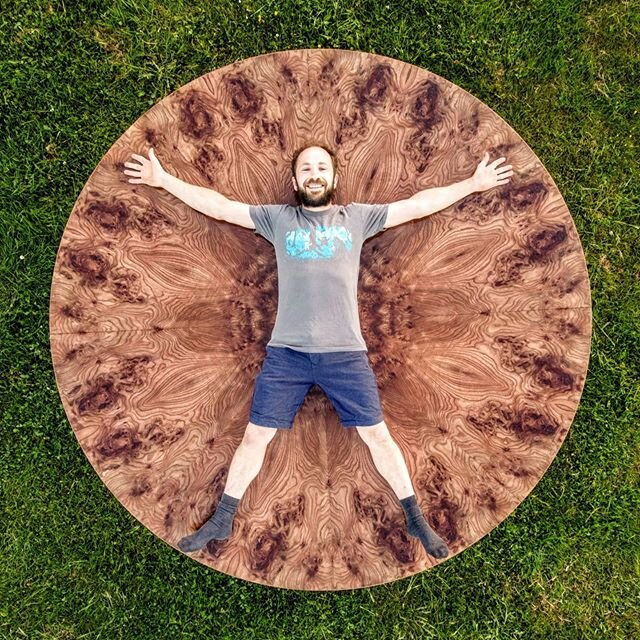
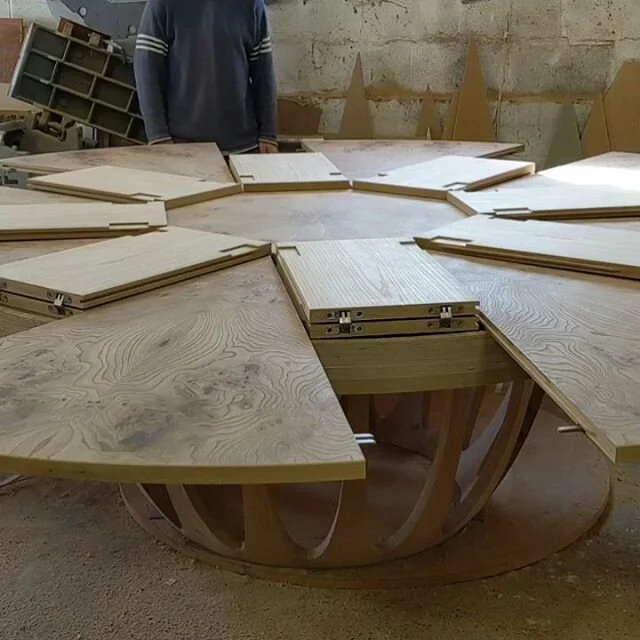
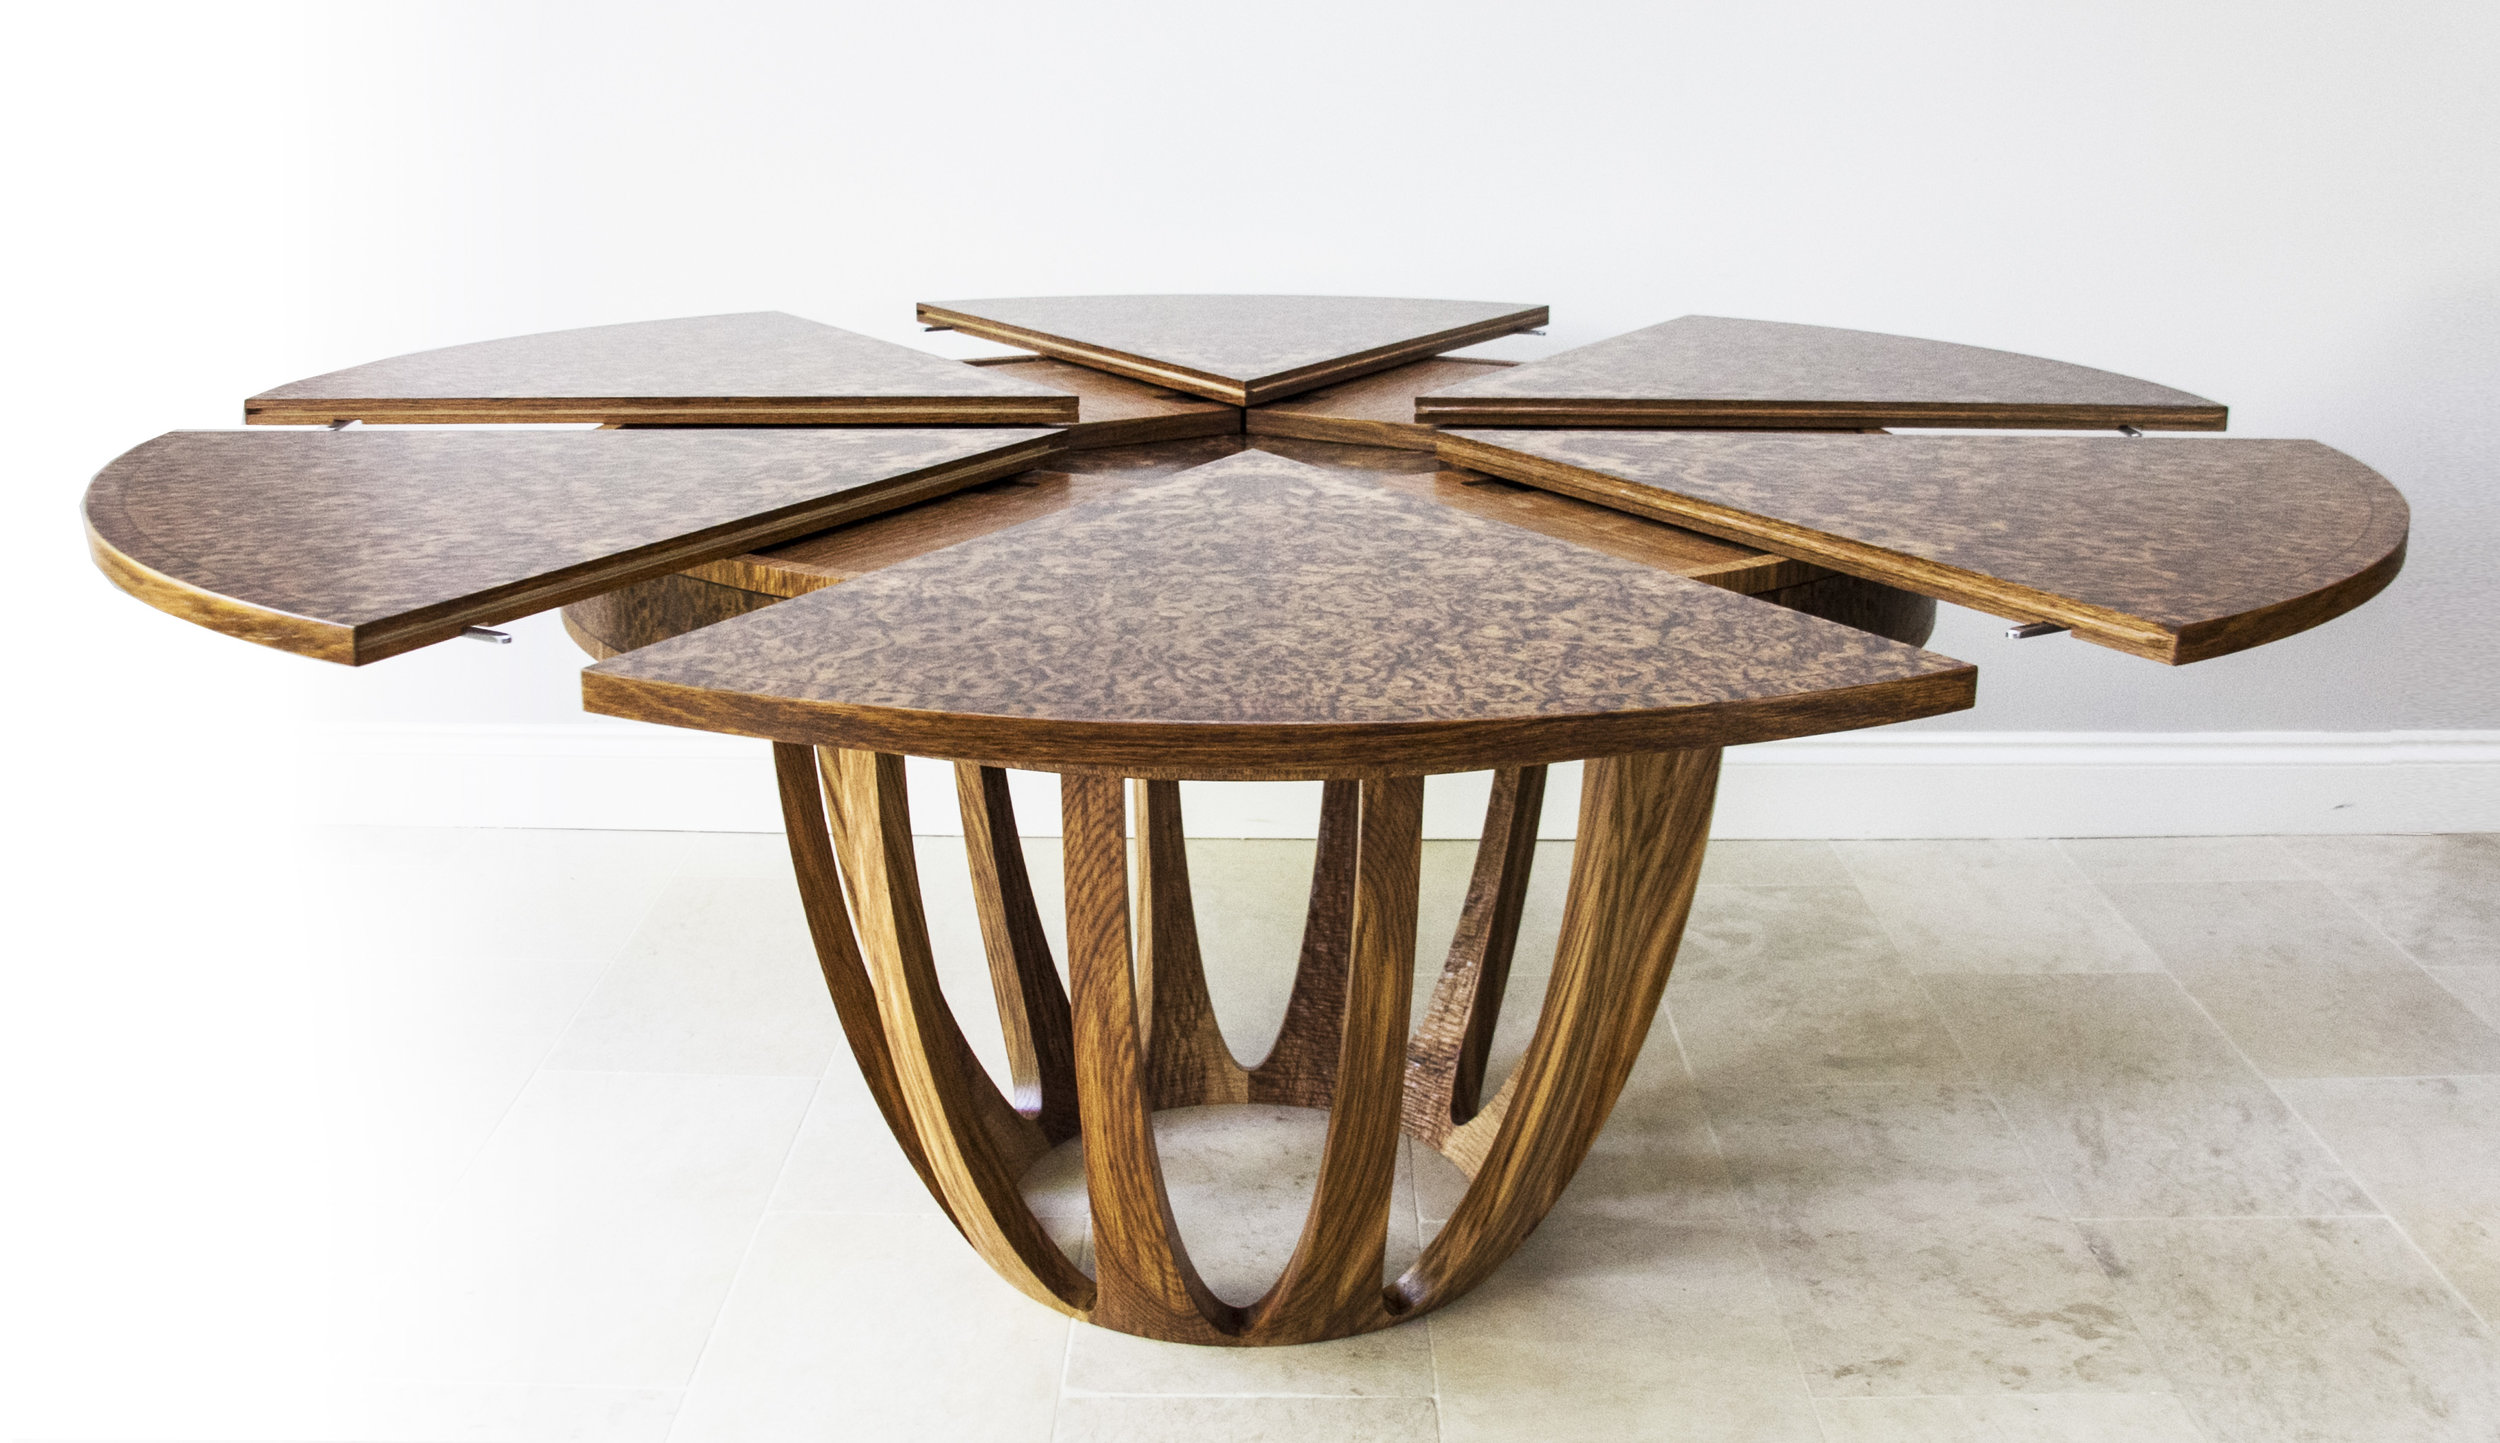
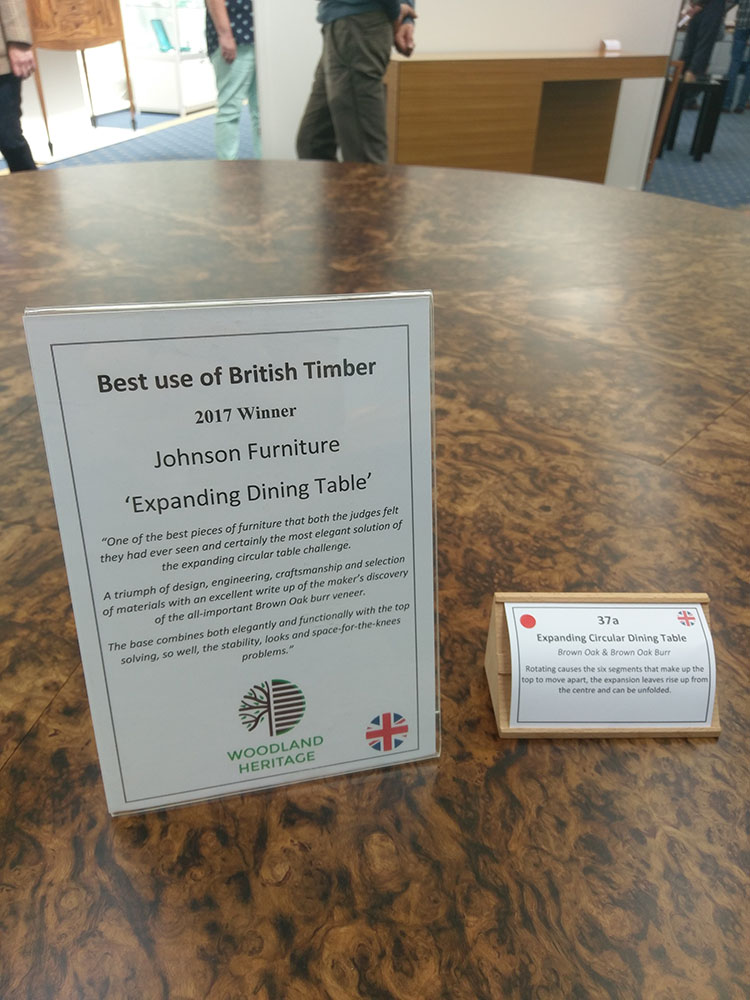
Expanding Dining Table in Brown Oak Burr showing six lines of symmetry
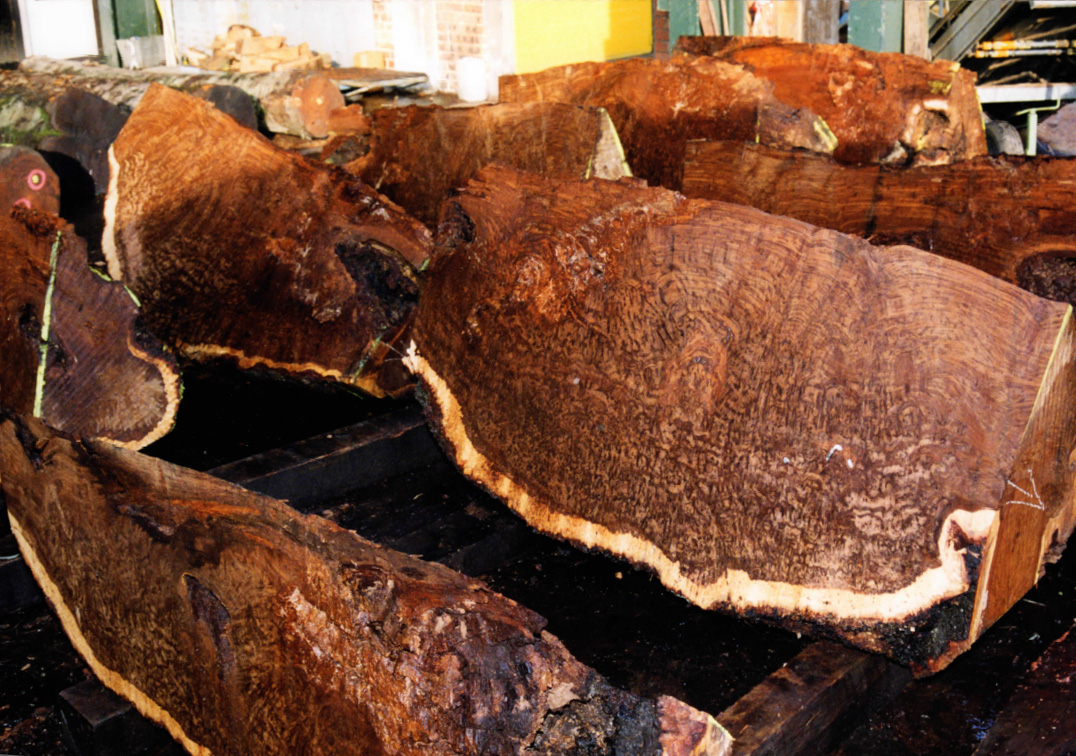
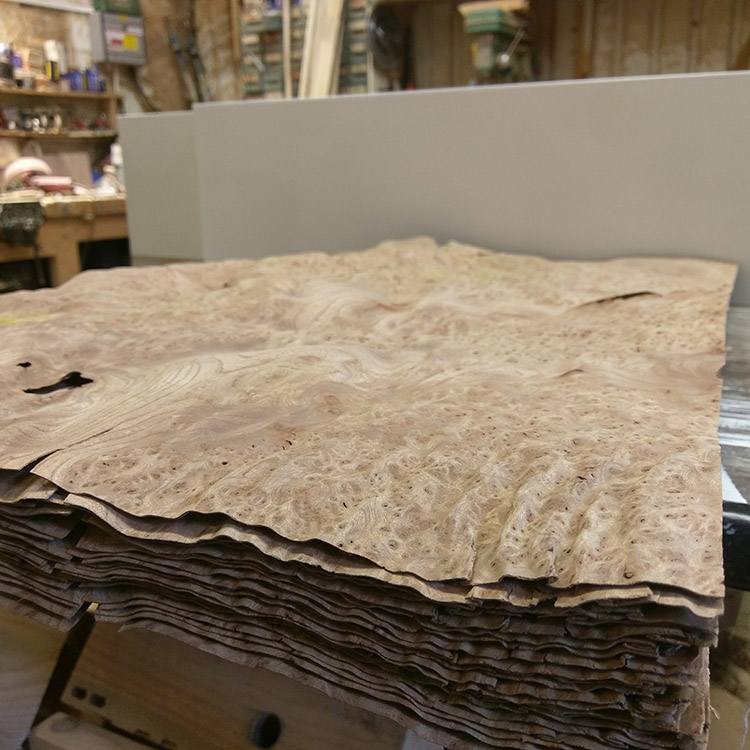
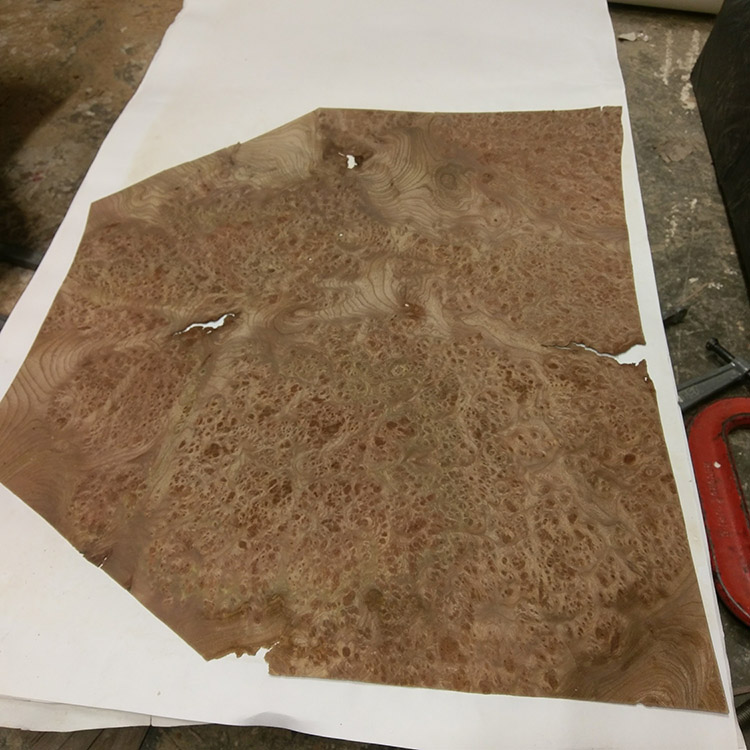
Many timbers are not available in solid form, this can be due to rarity, where it would be a waste to produce a few solid planks rather than many veneers from a special tree, or structural reasons such as in a burr, where the grain is so wild and non-uniform that a solid piece would have little structural integrity.

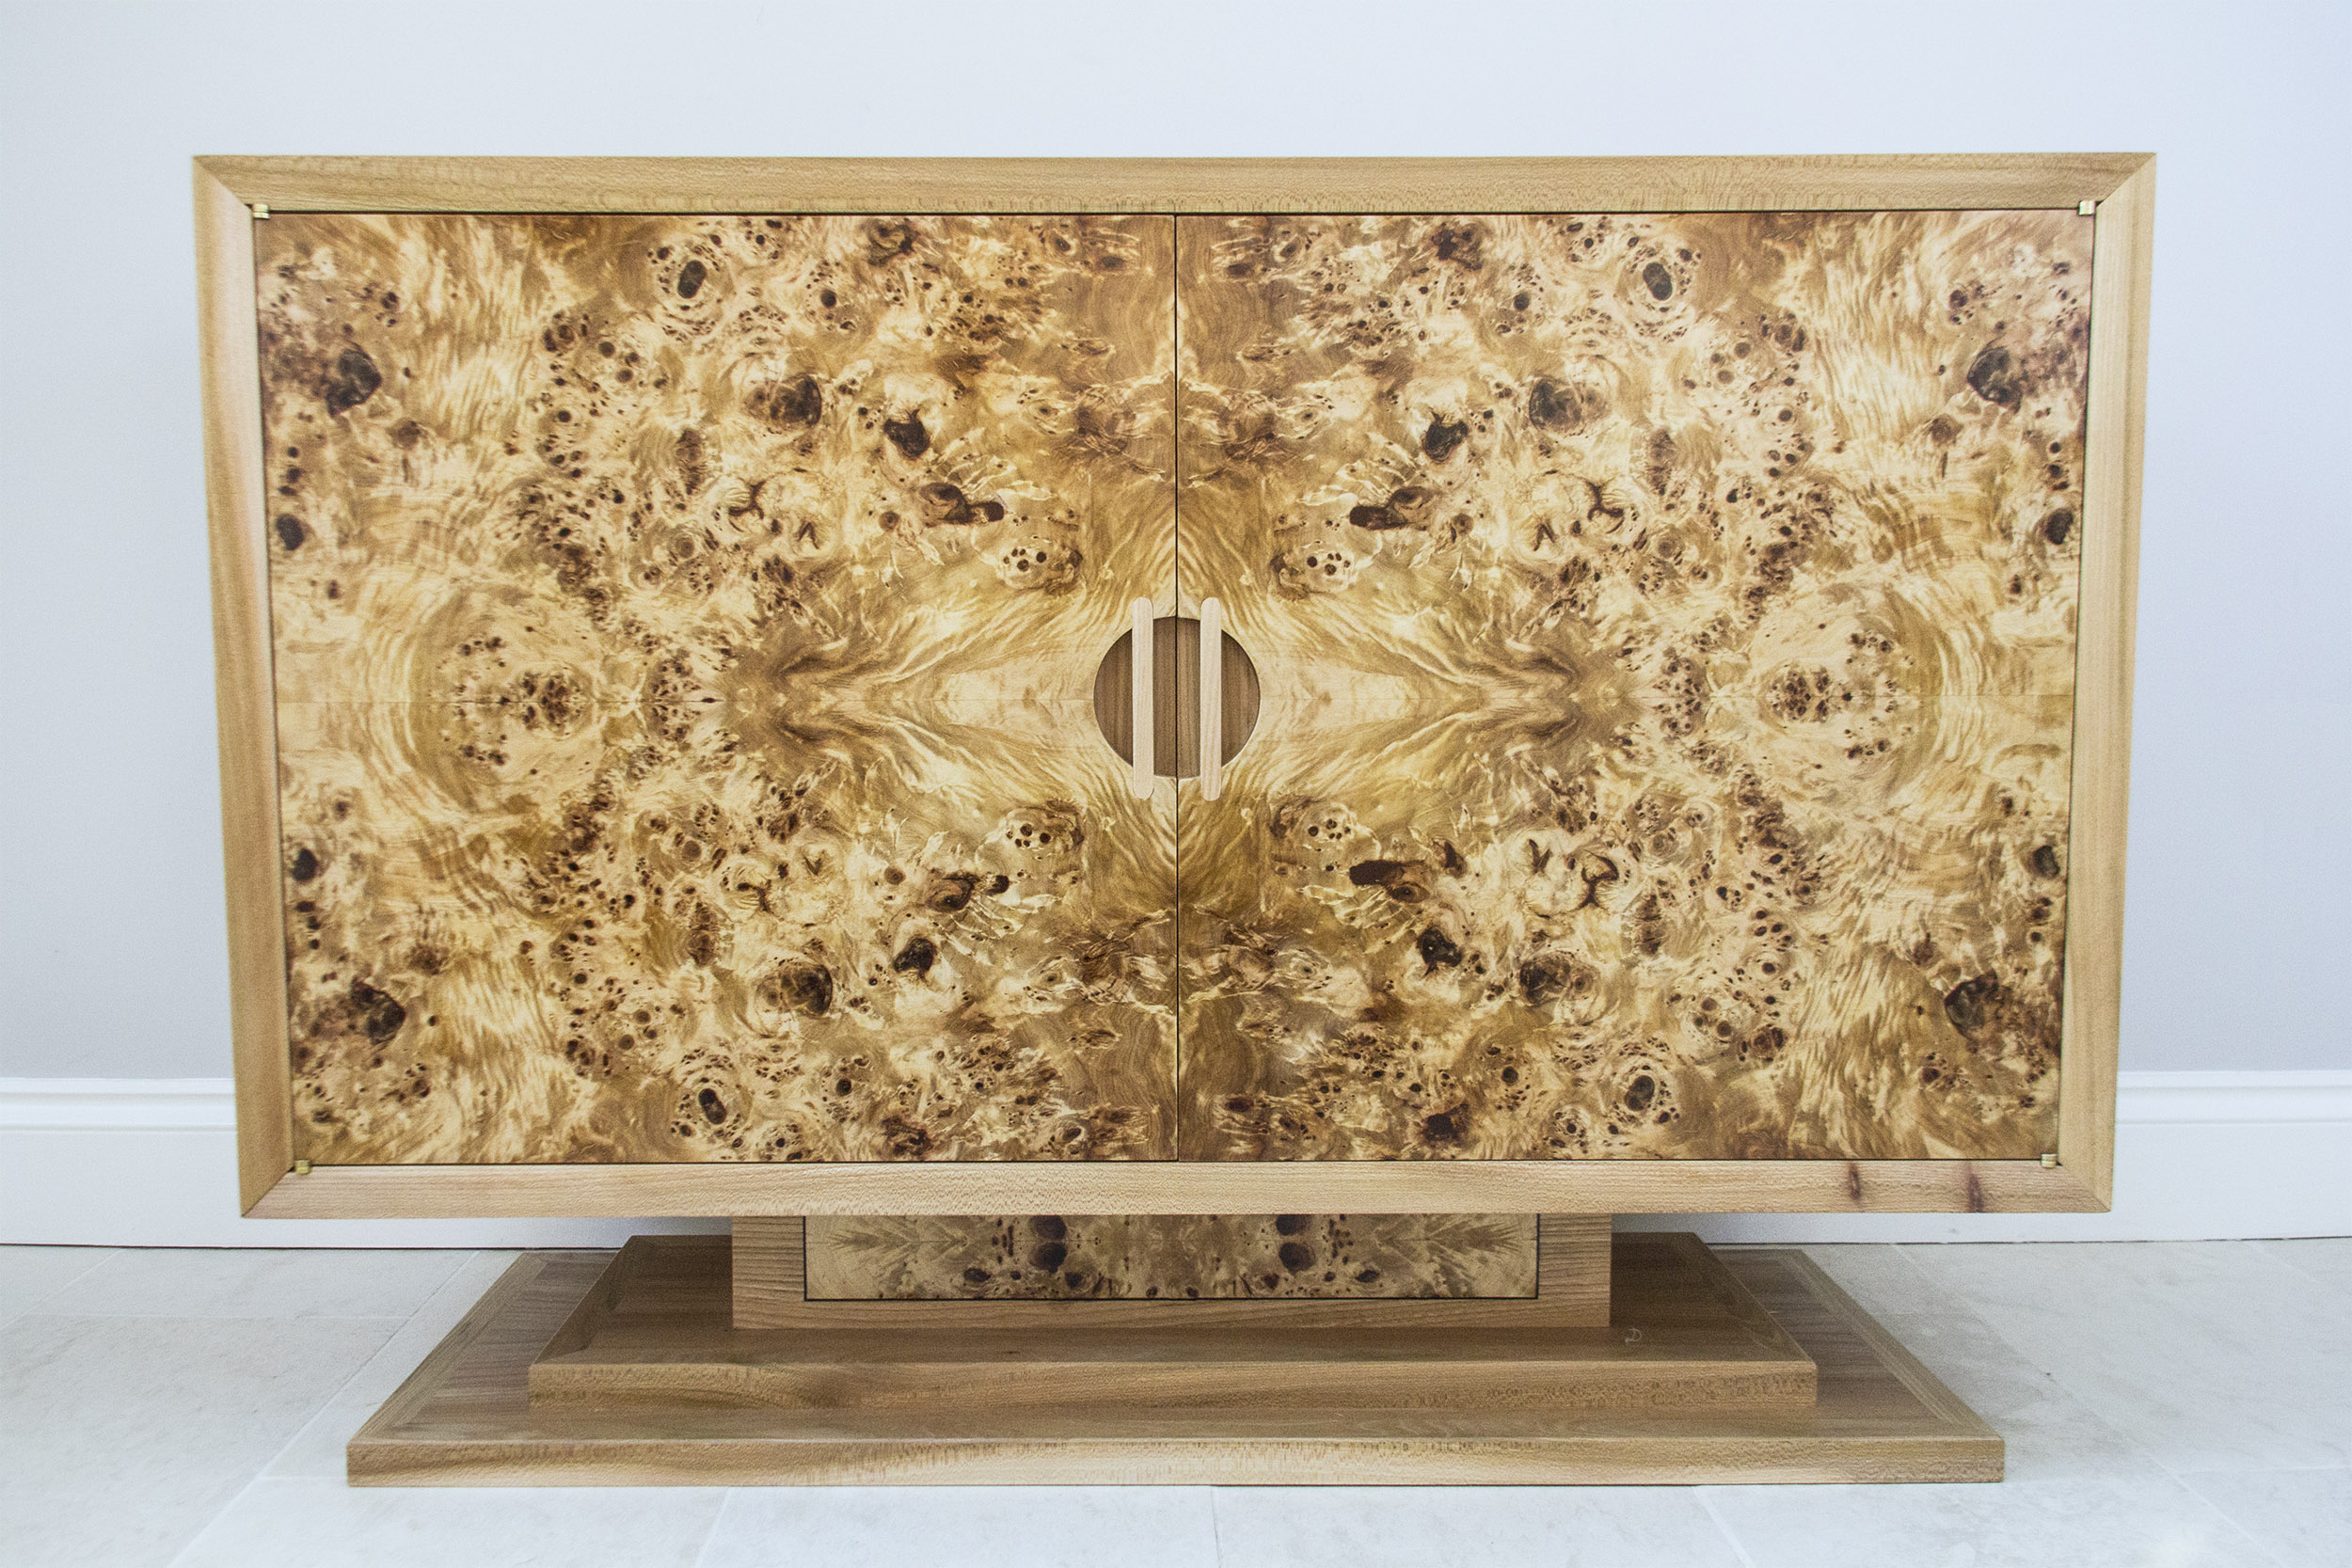
Quarter matched burr elm cabinet doors.
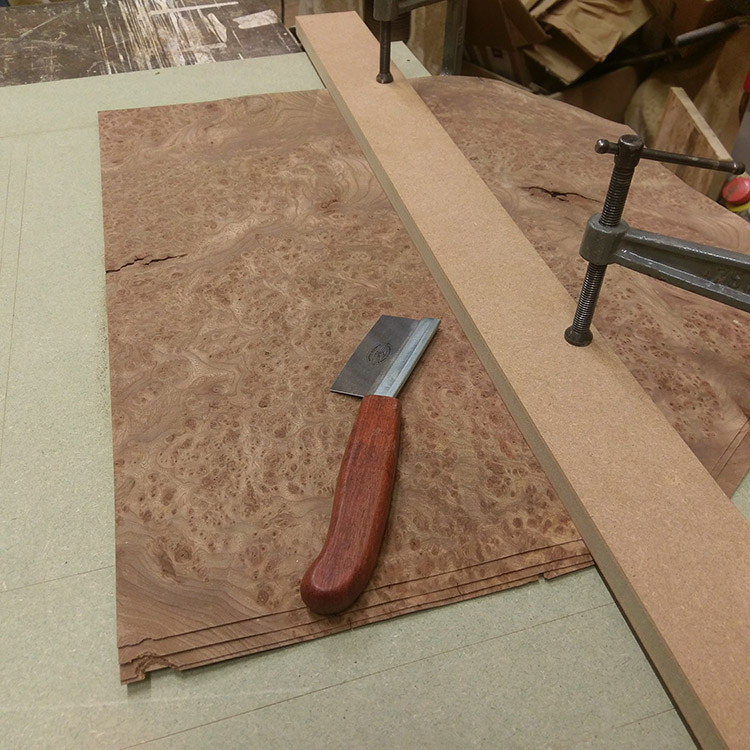
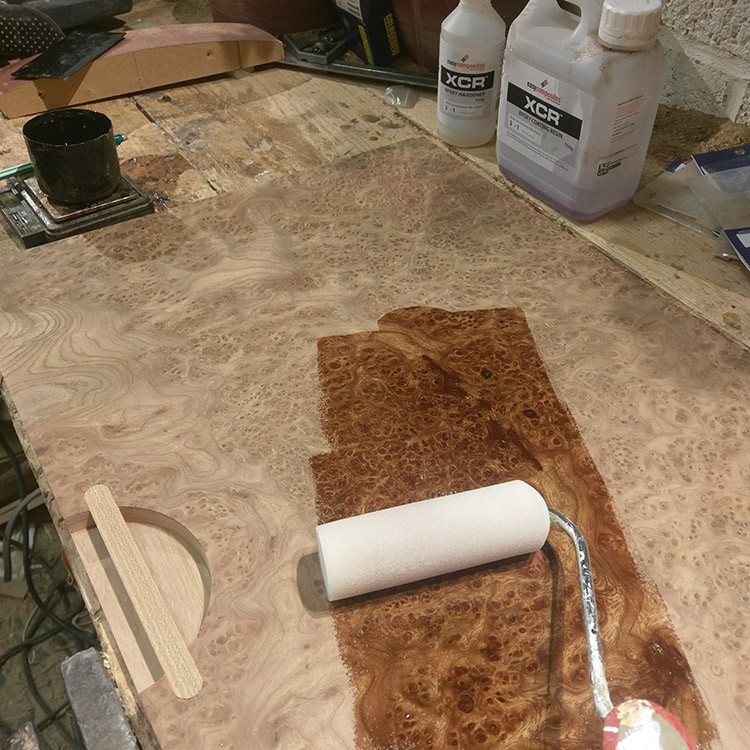
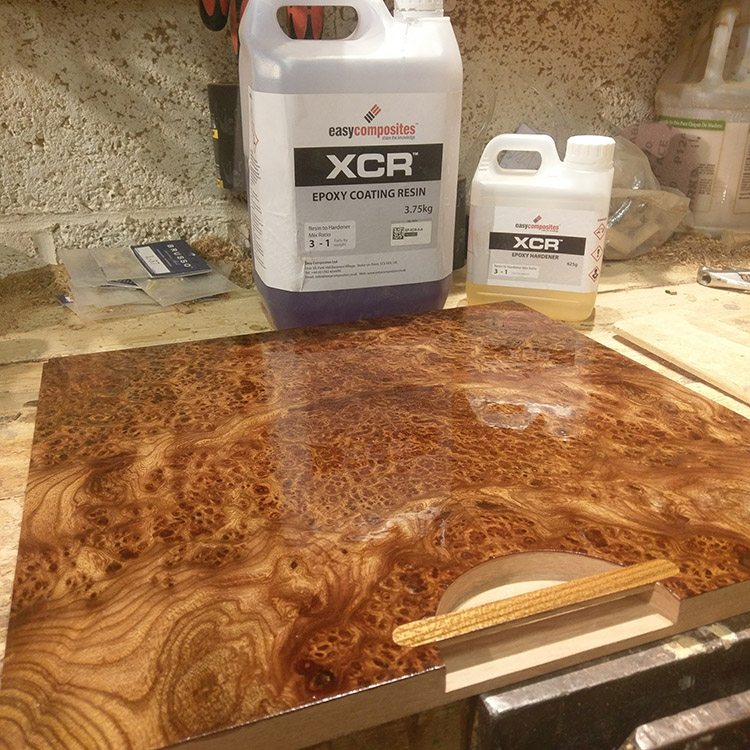
Modern glues and vacuum pressing techniques, along with high quality substrates which are both strong and dimensionally stable mean that the days of a veneer peeling from the surface of a piece are long gone. However George Is always careful not to leave edges and corners vulnerable to chipping, as such most of his furniture will involve a combination of solid timber and veneer, but of course things will always be done in accordance with the clients preferences.
Example Projects
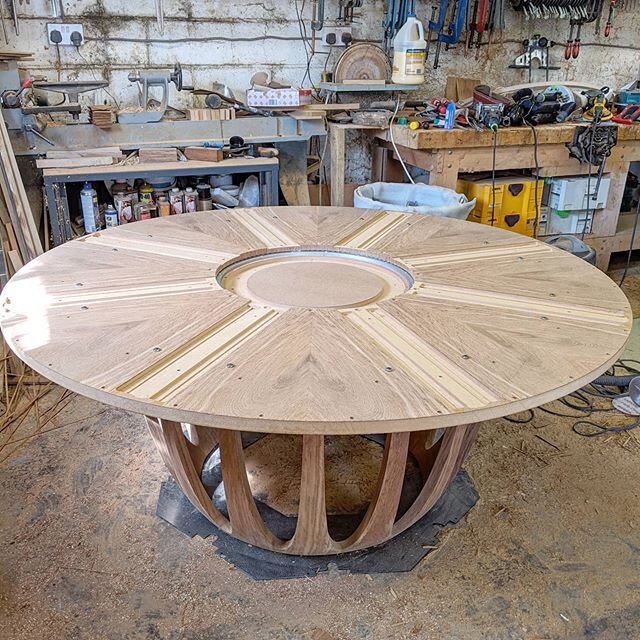
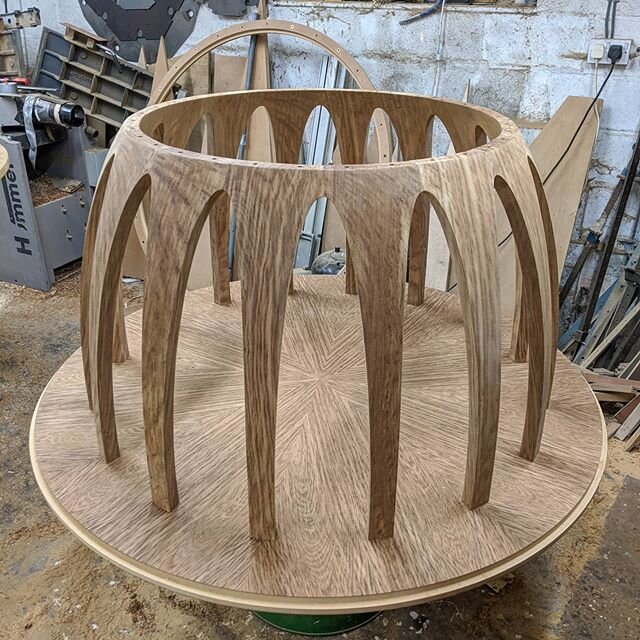
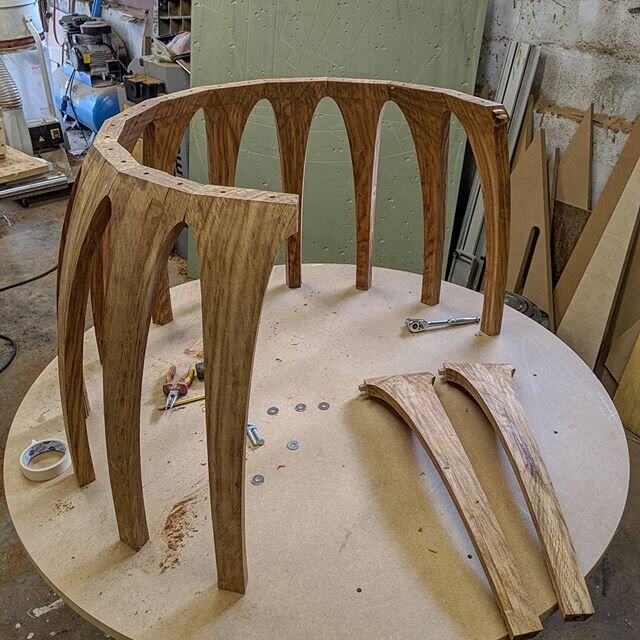
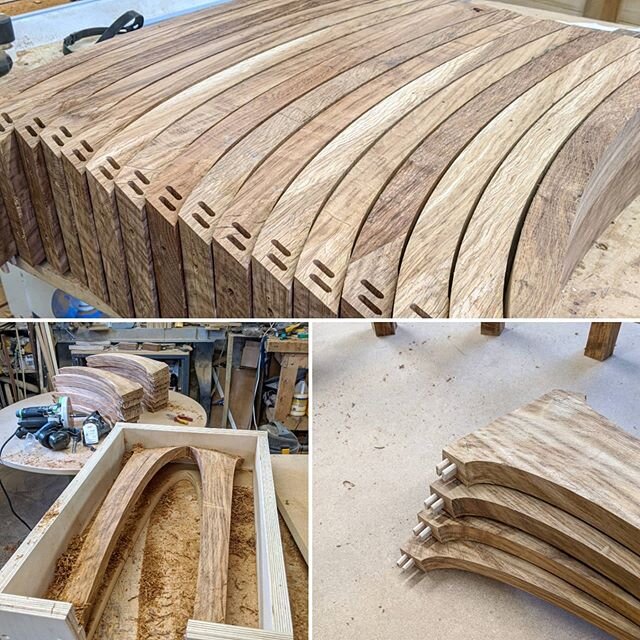
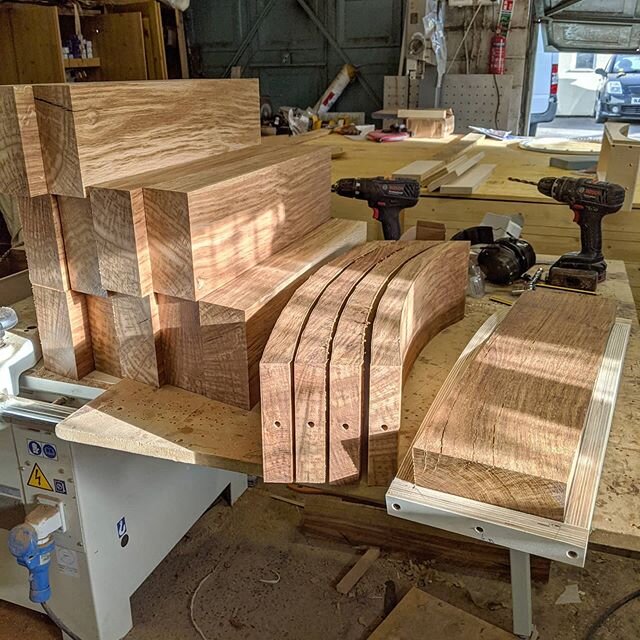
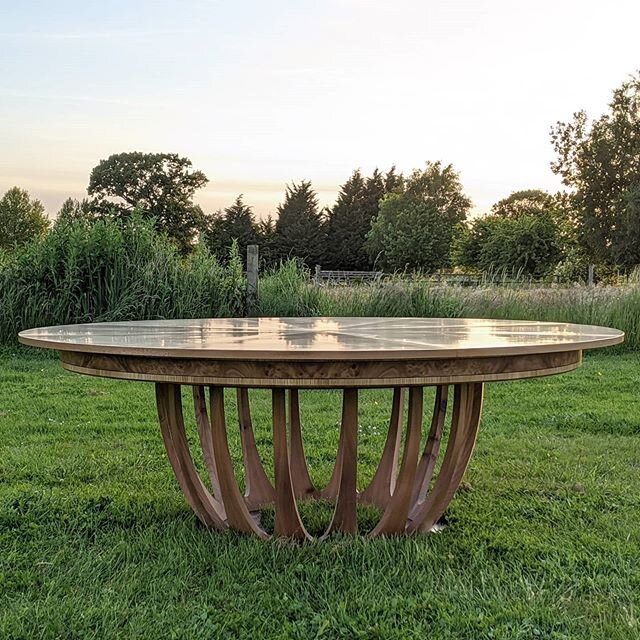
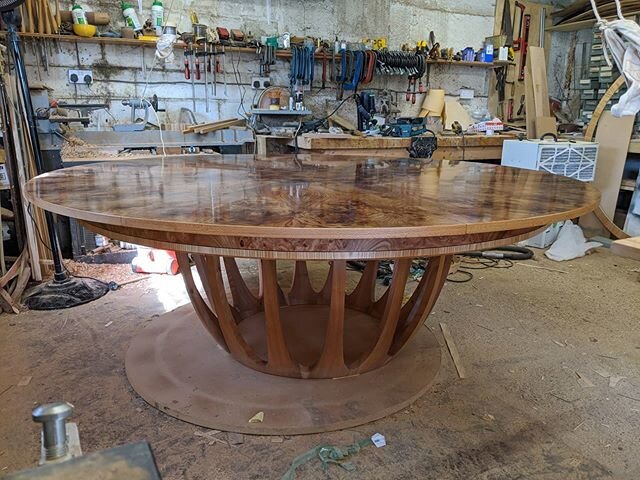
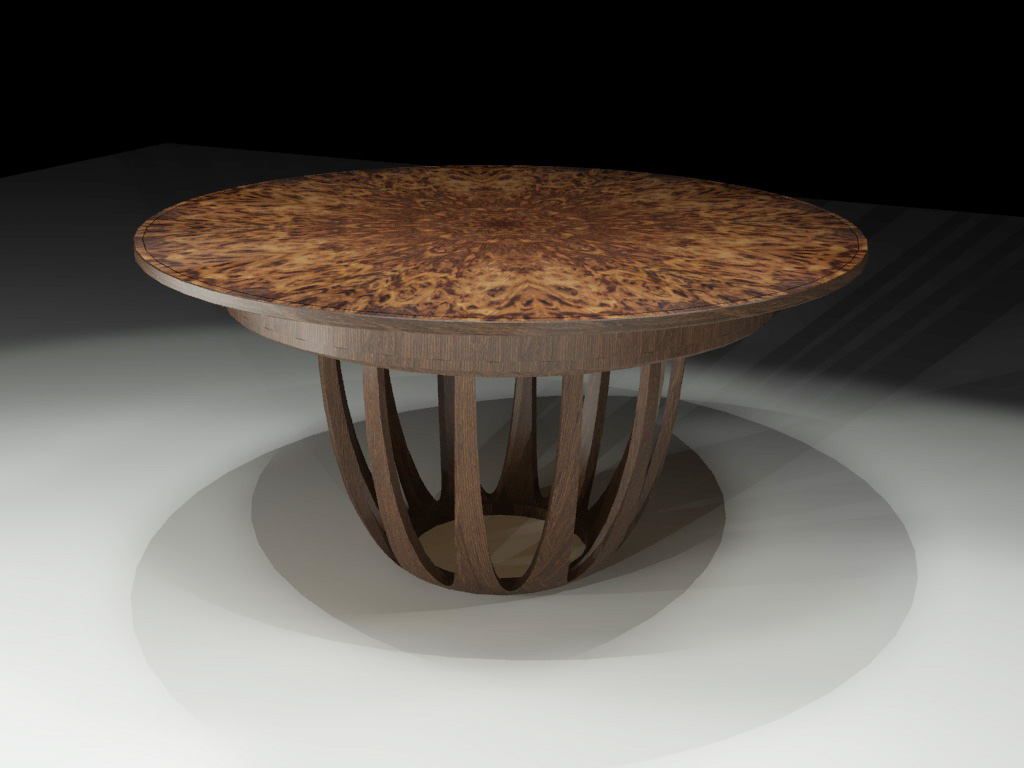
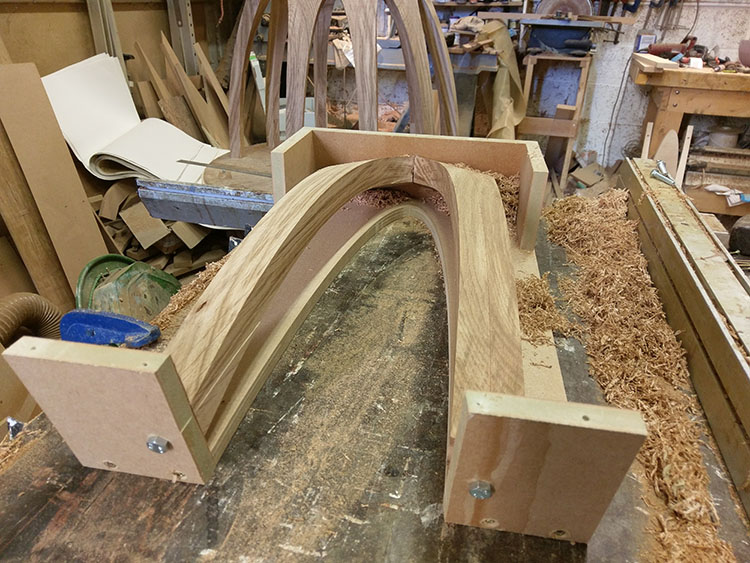
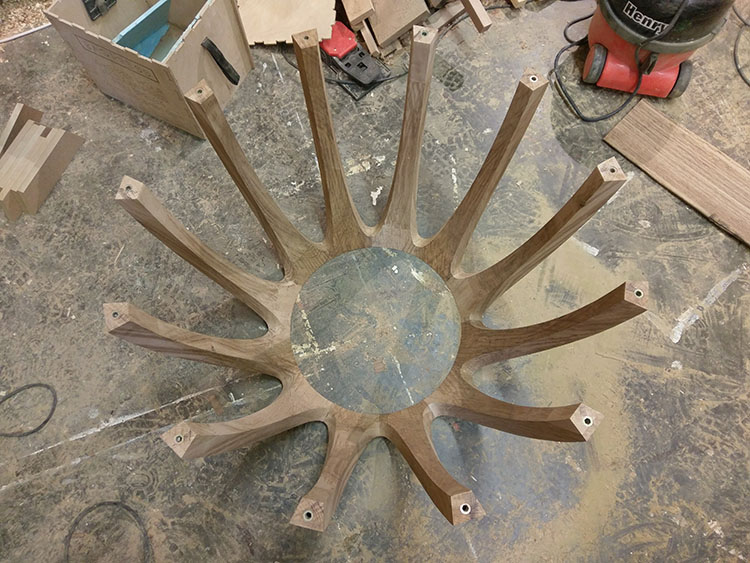
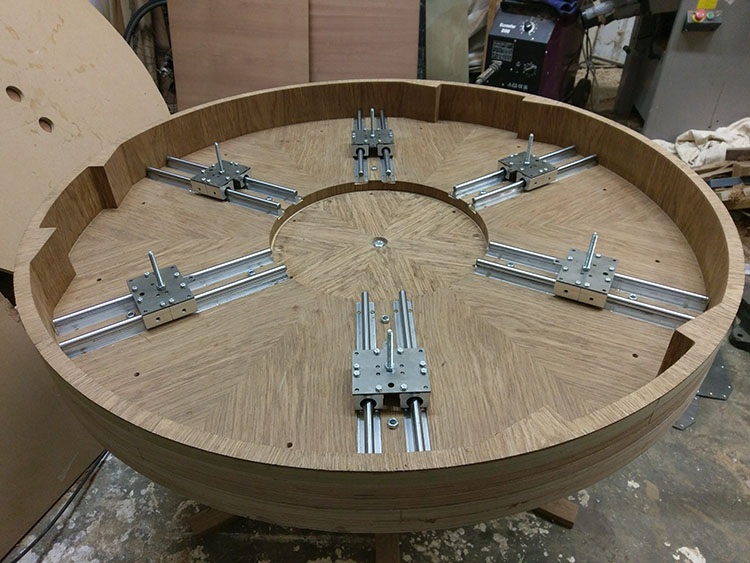
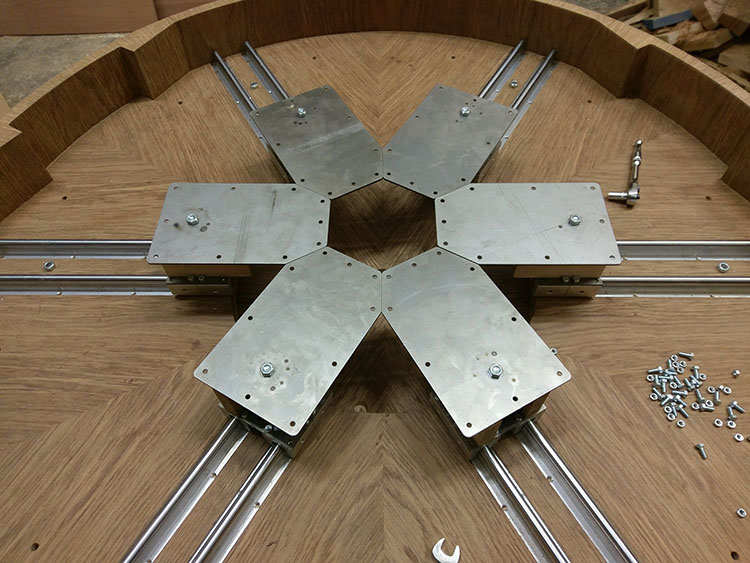
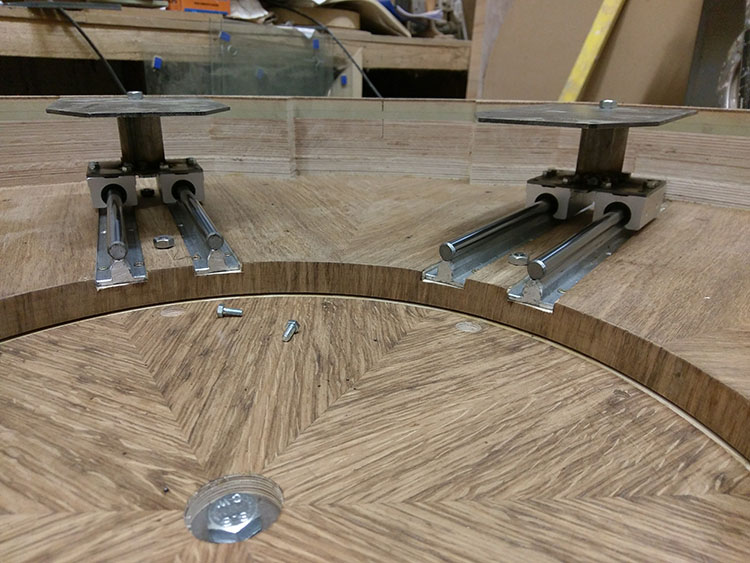
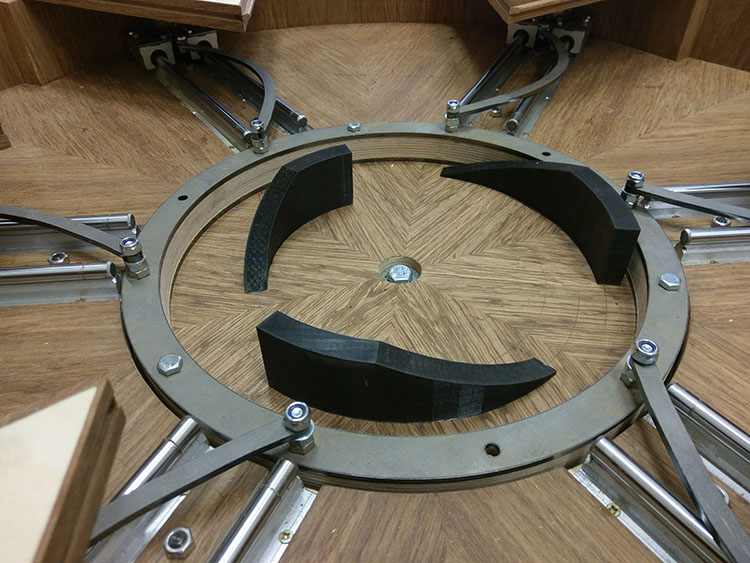
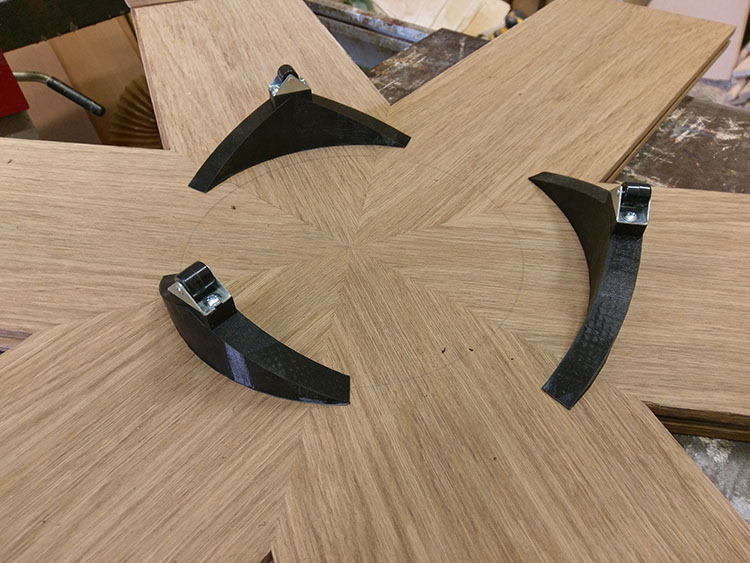
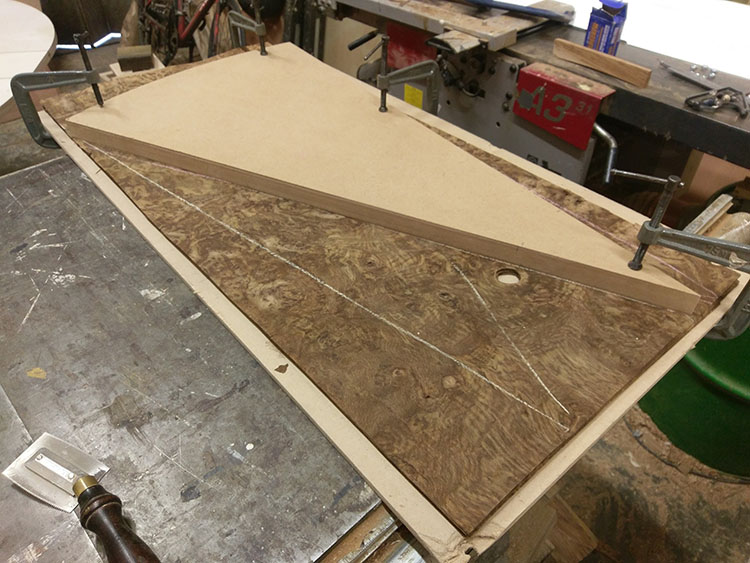
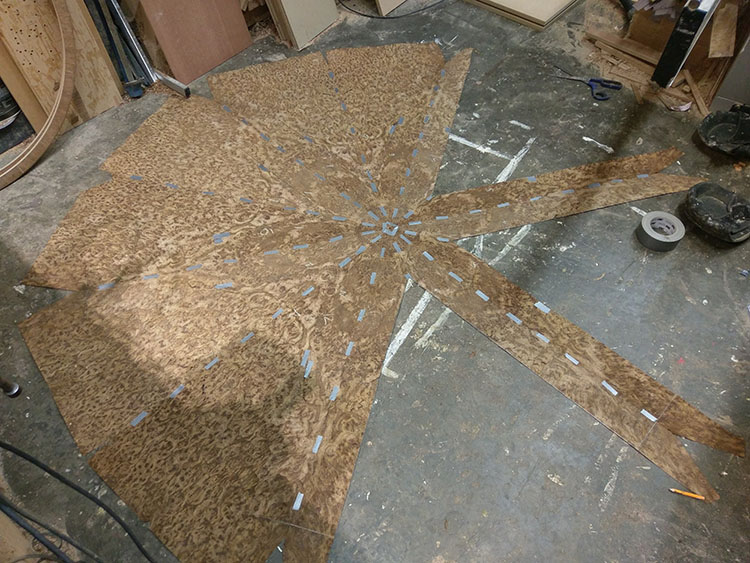
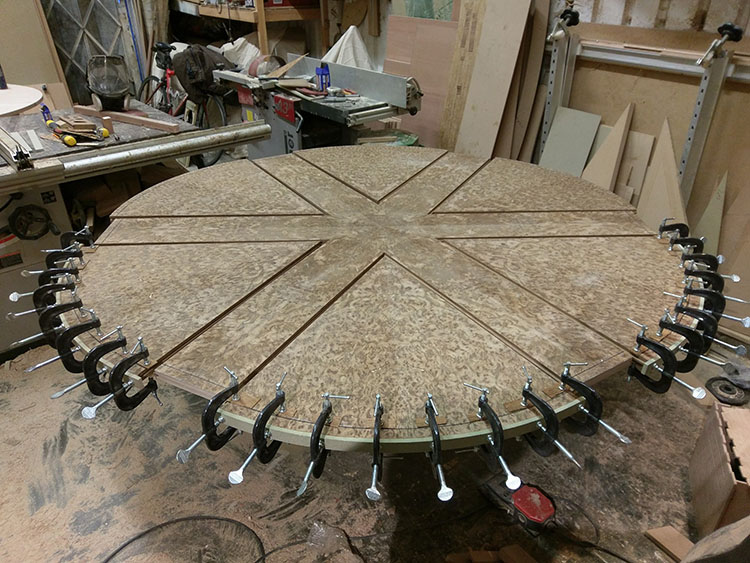
Expanding Circular Dining Table Brown Oak
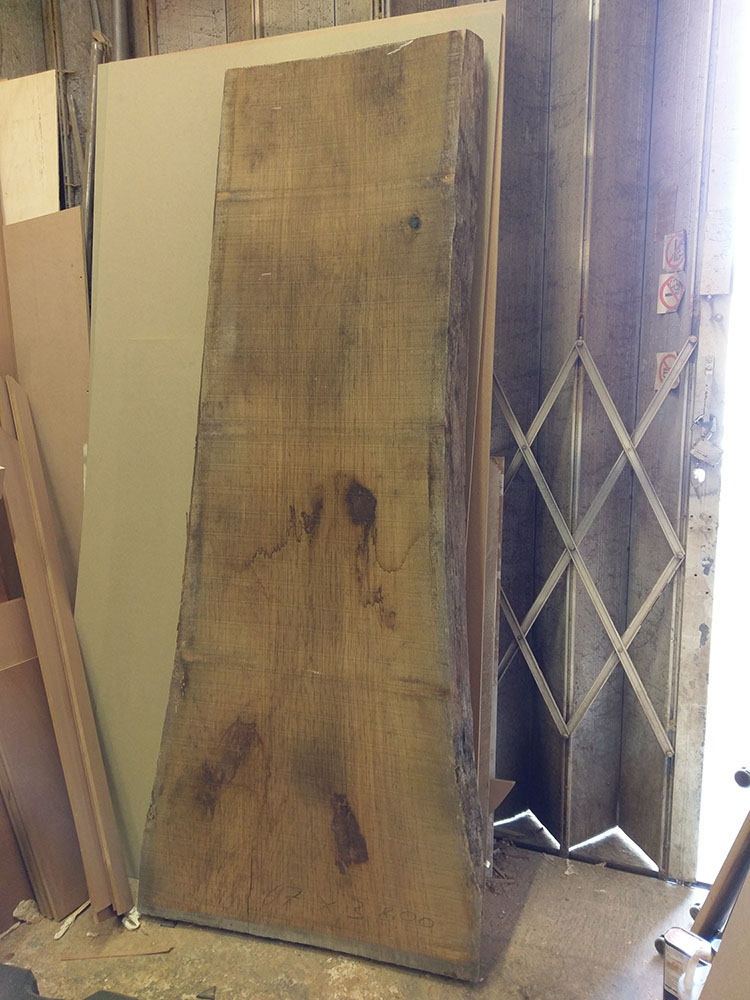
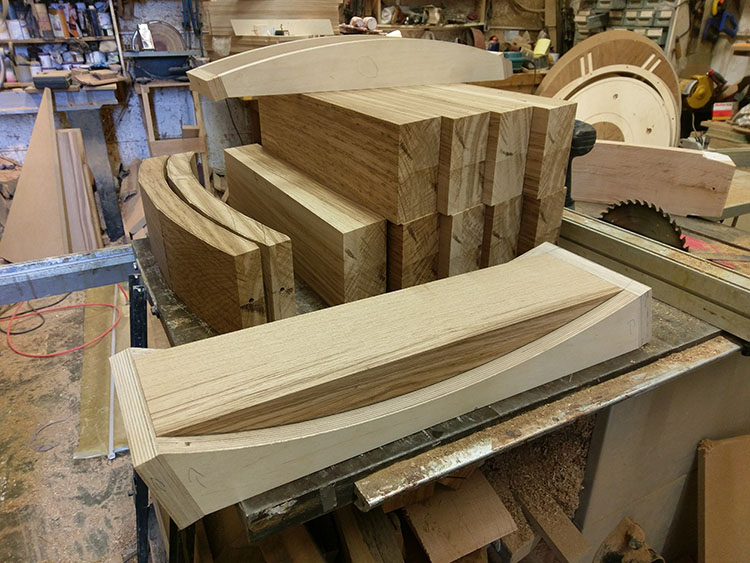
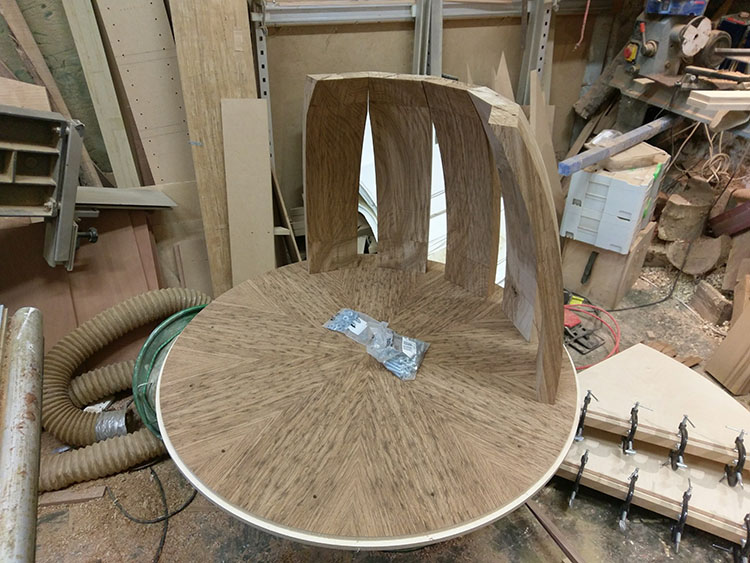
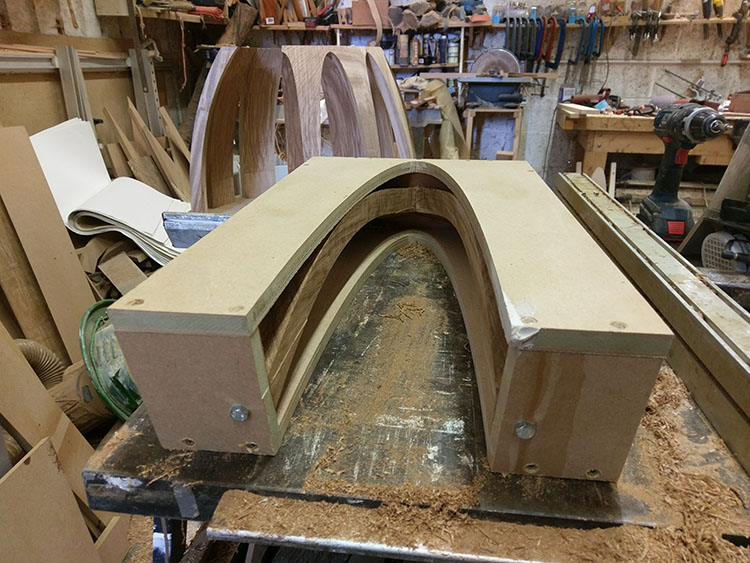
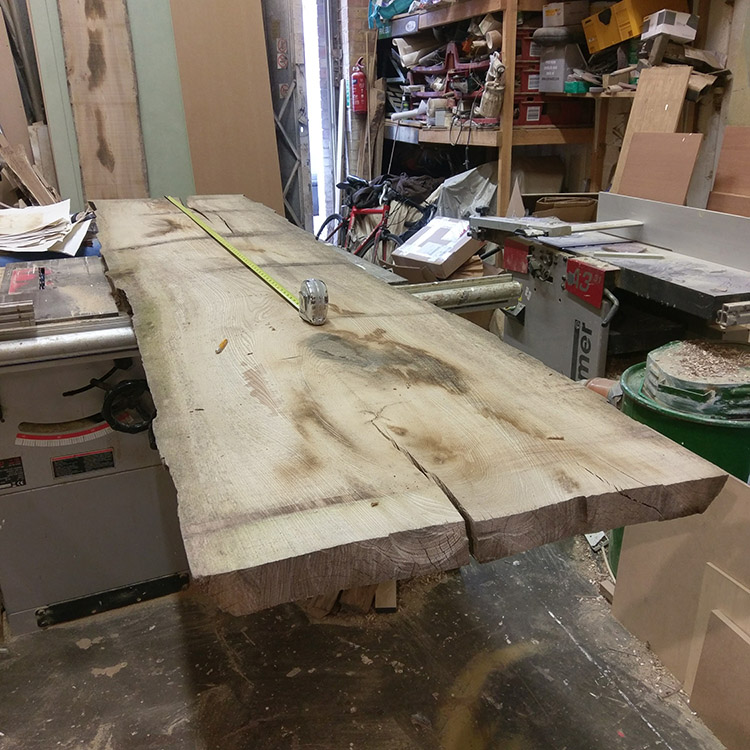
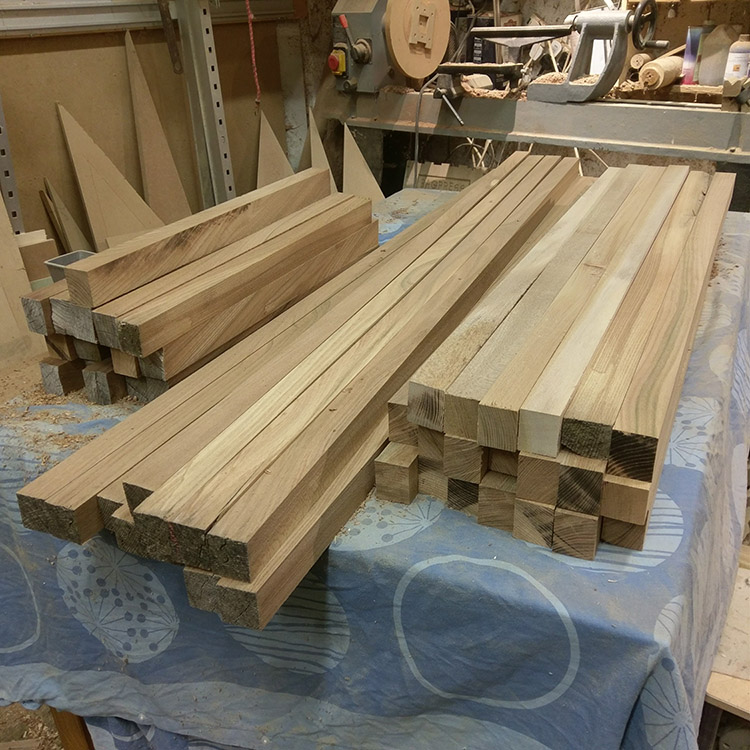
This table was veneered with burr from an 850 year old oak tree that died on an English estate. The burr was processed into veneer in 1996; George has tracked down individuals who remembered working on such a special tree! The gallery below has a series of pictures showing the construction of the table.


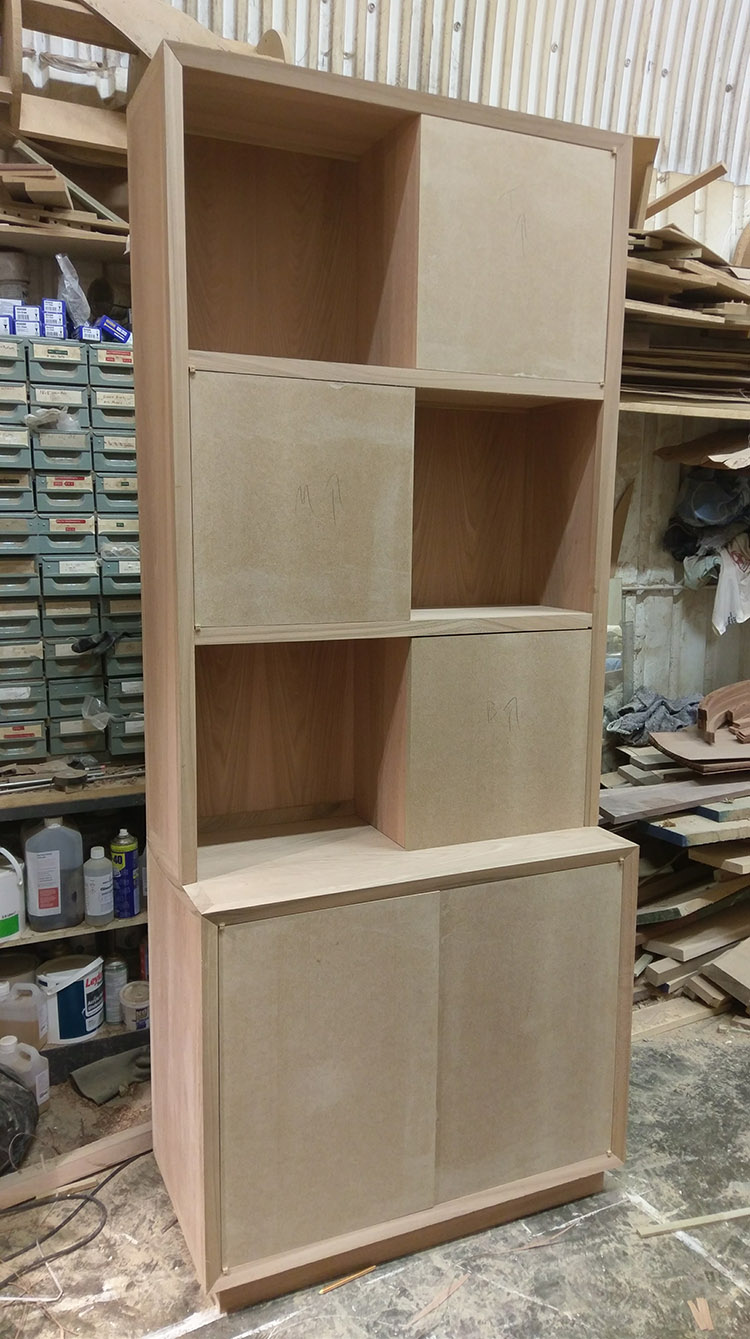
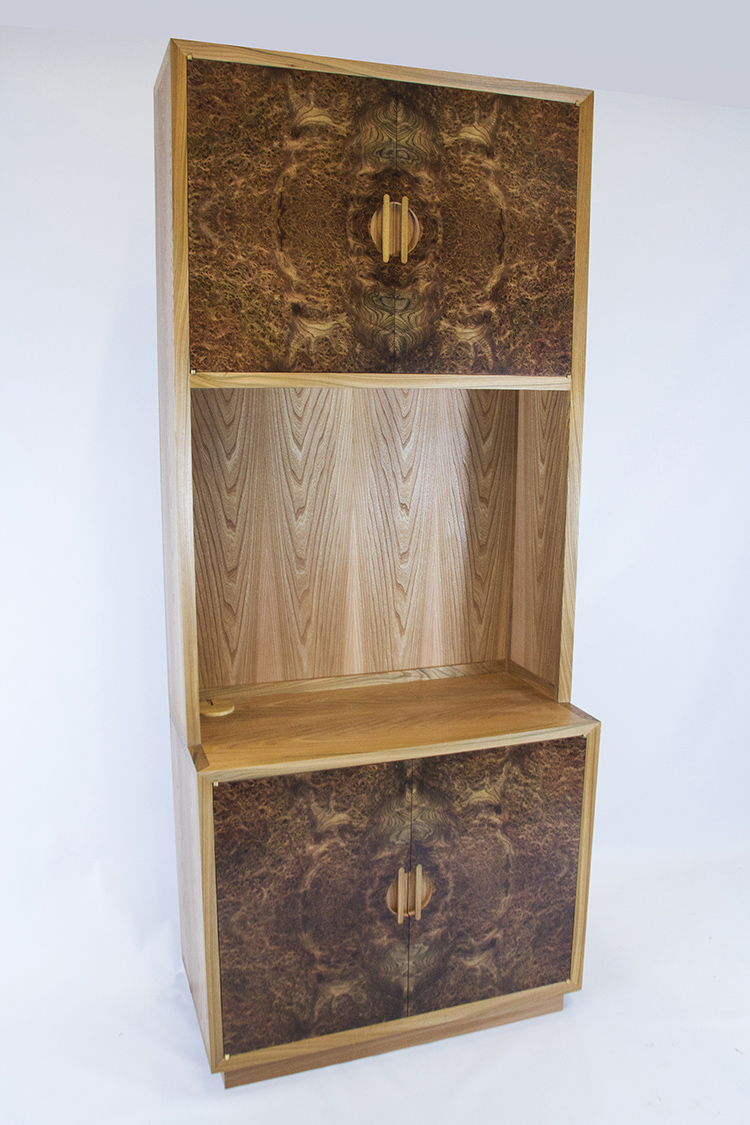
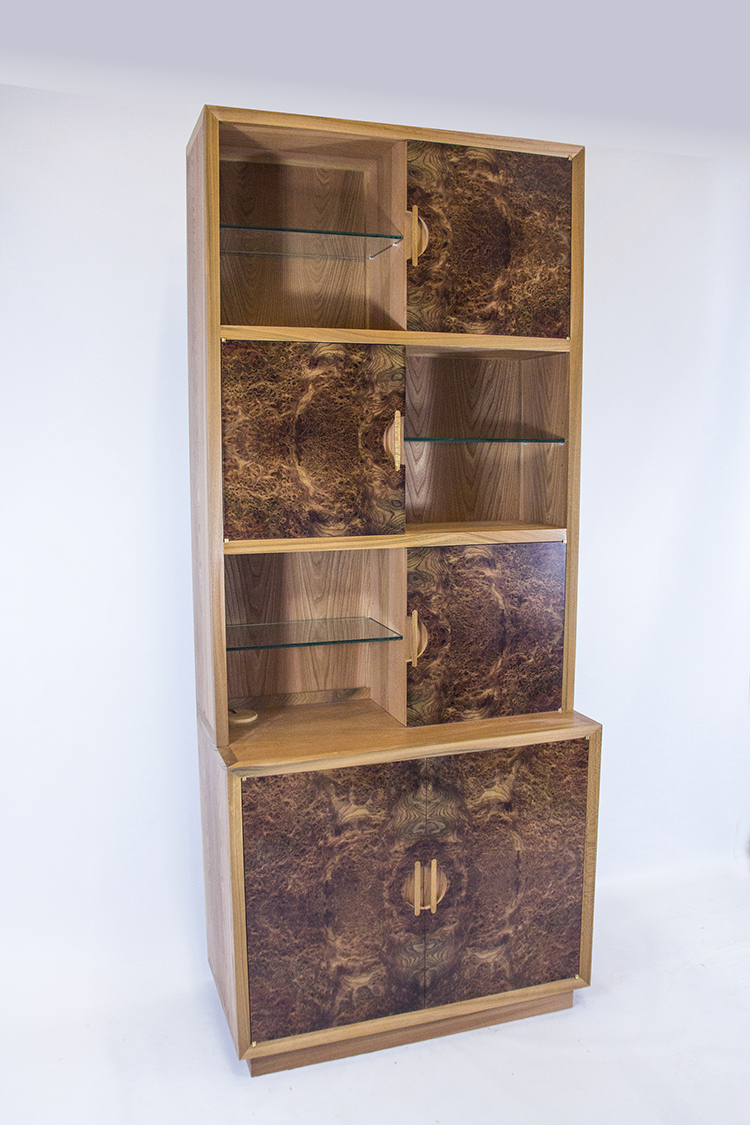
Cabinets in Elm and Burr Elm
A pair of free standing cabinets was designed to fit some alcoves. One was to feature as a TV unit, with the other storage and display shelves.


George now documents each project he is working on using his Instagram account. If you commission a piece you can watch it take place and gain more insight into the process of bespoke furniture making.
A feed from his account is shown below.